Pantry Organization for Beginners: Where to Start
A plain starting point for a messy pantry: what an organized pantry really is, the four ideas every tidy shelf relies on, why containers come last and a small first session you can finish in under an hour.
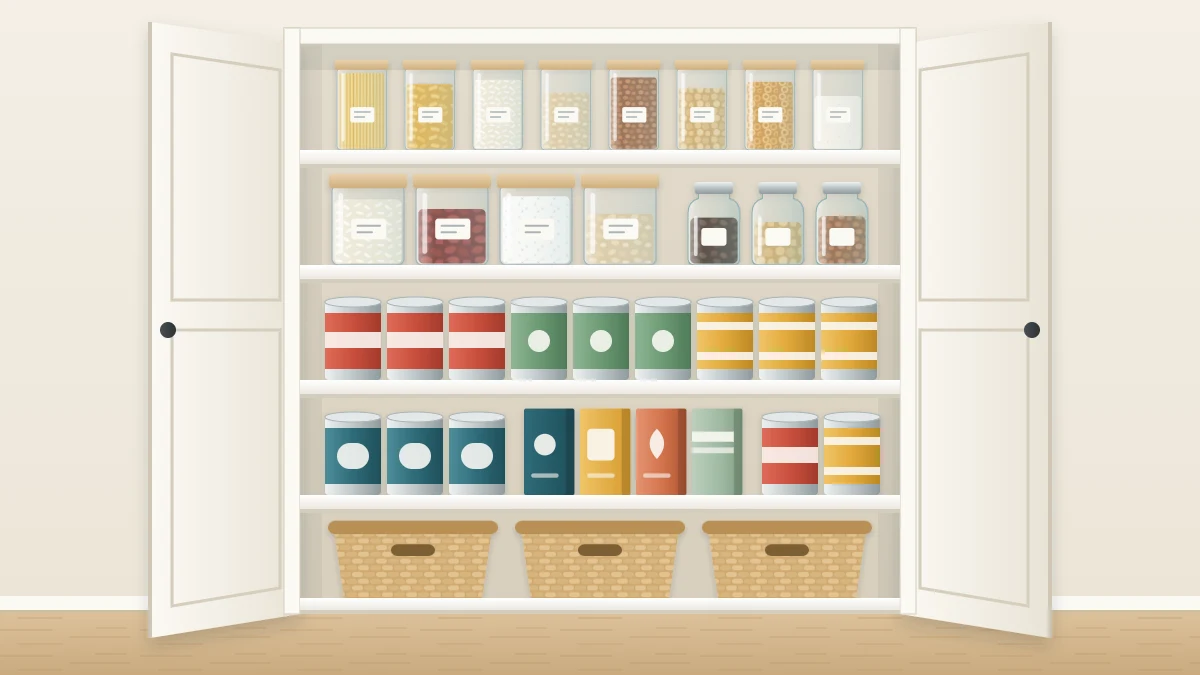
A messy pantry rarely comes from laziness. It comes from food arriving faster than anyone decides where it should live. If you have never organized one, pantry organization for beginners comes down to a handful of plain ideas and one small first session, not a lost weekend or a cart full of matching containers.
Think of this page as the map. It explains what an organized pantry really is, the four ideas the rest of the site builds on, what to do first and what can wait. The detailed guides are linked where they fit, so you can go deeper once the basics make sense.
What counts as a pantry
On this site, a pantry is any dedicated food storage. A walk-in room with shelves on three walls counts. So does a reach-in closet, a tall pantry cabinet, or a couple of ordinary kitchen cabinets that hold your food.
The ideas are the same in all of them. Only the scale changes: a walk-in gives you room for more groups and more spares, while two cabinets force you to be choosier about what earns a place.
What an organized pantry actually is
Forget the picture of identical jars in perfect rows. A pantry is organized when it passes three everyday tests:
- You can see what you have. Opening the door tells you whether there is rice, without moving anything.
- You can reach what you use most. Everyday items sit at a comfortable height, not behind the holiday baking supplies.
- You can put things back without thinking. Every item has an obvious place, so unpacking groceries is quick and other people in the house can do it too.
A pantry that passes those tests can look quite ordinary. Original packages, mismatched boxes and reused jars are all fine. Looks are optional; function is the point.
The four ideas everything else builds on
1. Group like with like
Put things that are used together in the same place: all the pasta and grains, all the baking supplies, all the snacks. Grouping shows you how much you really own, and it exposes duplicates, such as three open bags of the same rice. Group by how you cook and eat rather than by package shape. Canned tomatoes may belong with the pasta in your house, not with the canned fruit.
2. Give each group a fixed home
A fixed home for one group is called a zone: a shelf, half a shelf or a single bin that belongs to that group and nothing else. Zones are what stop a tidy pantry from drifting, because “where does this go?” always has one answer. The guide to dividing a pantry into zones walks through choosing them for your own household.
3. Keep things visible
Food you cannot see tends to be bought again or forgotten. Visibility comes from simple moves: rows one item wide, taller things behind shorter ones, nothing stacked in front of something different, and a label on anything you cannot see into.
4. Keep a light upkeep habit
No layout survives without a little care, but the habit can be small. Put new purchases behind older ones, return strays to their zone when you unpack, and straighten the shelves briefly before a big shop. A few minutes, done regularly, replaces the dreaded yearly overhaul.

Why buying containers first is a false start
The most common first move is a shopping trip, and it usually backfires. Until you have sorted your food, you do not know how many groups you have or how much each one holds. Until you have measured, you do not know what fits your shelves. Containers bought on a guess end up too tall for the gap, too few for the flour, or sitting empty in a closet.
So the order is: sort, measure, arrange with what you already own, and only then buy for the gaps that remain. Shoeboxes, shallow cardboard trays and washed jars are perfectly good stand-ins while you find out what the layout needs. When you reach that point, the guide to choosing pantry storage containers explains shapes, sizes and lids.
Tip
Before any purchase, write down three numbers for each shelf: its width, its depth and the height to the shelf above. Keep the note on your phone so it is with you whenever you are tempted by a bin.
A sensible first session
Do not empty the whole pantry on day one. A full clear-out is a real project, and stopping halfway leaves the kitchen worse than before. Start with one shelf or one category, something you can finish in well under an hour.
- Pick a small target. The snack shelf, the baking supplies or the canned goods are all good choices.
- Take everything in that target out and set it on a counter or table.
- Wipe the empty shelf and let it dry.
- Group what you took out. Stand duplicates side by side and set aside anything you know nobody will eat.
- Put the groups back with the most-used items in front and at the easiest height, and older packages ahead of newer ones.
- Leave a little empty space. A shelf packed edge to edge has no room for the next grocery trip.
Then stop, and use that shelf for a week. One finished shelf teaches you which items you reach for and whether your groups match how you cook.
What can wait
Several things that look essential are really second-round improvements. None of them is needed for a pantry that works:
- Labels. Helpful later, once the groups have settled and stopped moving.
- Decanting, which means pouring food from its package into a container. It suits a few staples, not everything.
- A backstock area, a separate spot for unopened spares of things you already use.
- A written inventory. Most households manage with shelves they can see and a running shopping list.
Rushing into these is one reason a newly tidied pantry falls apart again. The list of common pantry organization mistakes is worth a read before you invest much time or money.
Where to go next
Once one shelf is working, you have two sensible routes. You can repeat the small session on the next shelf whenever you have a spare half hour. Or, to settle it in a single go, follow the full method for organizing a pantry step by step, which sets out the order from emptying the shelves to labeling them.
Frequently asked questions
Where should I start if my whole pantry is a mess?
Start with a single shelf or a single category, such as snacks or canned goods. Take those items out, wipe the shelf, group what you have and put it back with the most-used things in front. Finishing one small area teaches you what works before you commit to the rest.
Do I need to buy containers to organize a pantry?
No. Food can stay in its original packages, and boxes or jars you already own work well for grouping loose items. If you decide containers would help, sort your food and measure your shelves first, so that anything you buy fits a real gap instead of a guess.
Does a couple of kitchen cabinets count as a pantry?
Yes. Any dedicated food storage is a pantry, whether it is a walk-in, a reach-in closet, a tall cabinet or two ordinary cabinets. The same ideas apply: group similar foods, give each group a fixed place, keep items visible and tidy up a little each time you unpack.


