Pantry Labels: What to Label, What to Write and Where to Put It
Which pantry items actually need a label, what to write on it, where to place it so it can be read, and a step-by-step plan for labeling a pantry in one session.
At a glance
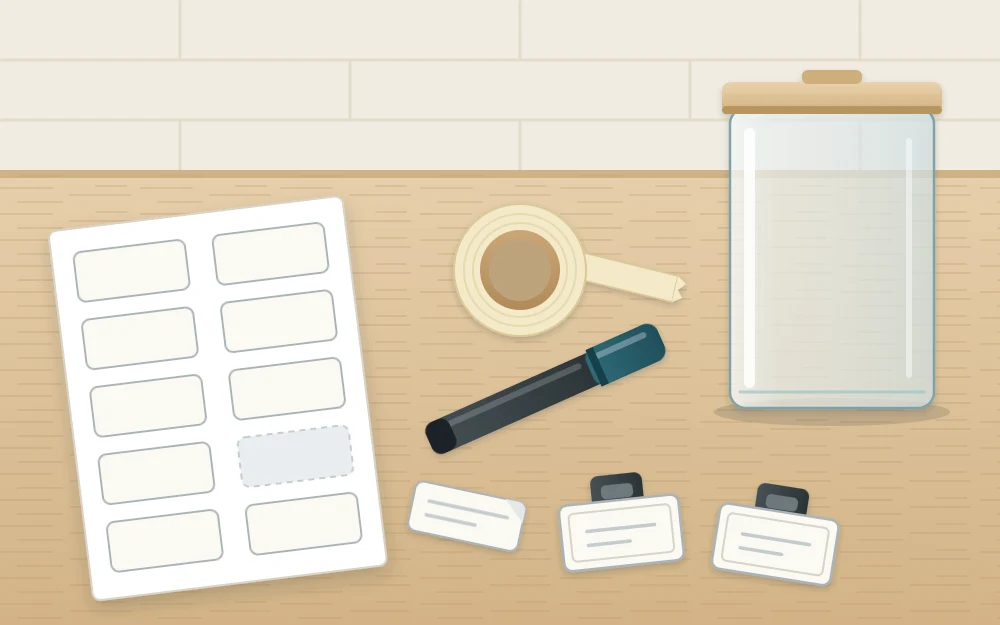
What you need
- Removable or erasable labels
- Marker pen
- Roll of tape
- Clip-on bin labels or tags
- Scissors
- Damp cloth and dry cloth
- Paper and pencil for the list
A label is the cheapest organizing tool in the pantry and the one most often used for decoration alone. Matching script on every jar looks finished, but pantry labels earn their place only when they tell someone something they could not see for themselves.
That makes the useful questions simple ones: which things actually need a label, what should be written on it, and where it should go so that it can be read from where you stand. The answers below are followed by a short plan for labeling a whole pantry in one sitting.
The three jobs a label does
- It says what is inside. This matters when the contents cannot be seen or cannot be told apart from something similar.
- It says where things go back. A label on a shelf edge or a bin marks a home, so groceries get put away in the same place by whoever unpacks them.
- It carries information the package used to carry. Once a bag or box is thrown away, the label is the only place left for the date and the directions.
If a label you are about to make does none of these, skip it. A clear container of spaghetti does not need the word “spaghetti” on it.
What to label first
Start where a label prevents a real mistake, and stop when the remaining items identify themselves.
- Look-alike foods. All-purpose and bread flour, granulated and powdered sugar, different kinds of white rice, cornstarch and baking soda.
- Opaque containers, bins and baskets. Anything you cannot see into will be forgotten unless its front says what it holds.
- Shelf edges. A label on the edge marks a zone, meaning the stretch of shelf given to one group of food. The guide to dividing a pantry into zones explains how to choose them.
Cans, boxes and bottles in their original packaging already carry a label. They need only a home, not a second name.
What to write
Use the plain name everyone in the house uses. If your family says “pancake stuff”, that is the right label for the bin, and a more elegant phrase will only slow people down. Keep to one or two words in large, clear lettering.
Food that has been decanted, that is, poured from its package into a container, needs more than a name, because the package has gone:
- On the front: the name, and the date printed on the original package.
- On the back or under the lid: the cooking directions, such as the water ratio and time for a grain.
- Also on the back or under the lid, where relevant: the ingredient and allergen information. The package label is where allergens are identified, so cut that panel out and tape it on, or copy it carefully.
The guide to decanting dry goods covers the full routine for moving that information across.
Good to know
A label describes what you put in the container. It does not replace the original package date: copy that date exactly as printed, and update it every time you refill.
Label types compared
You do not need a label-making machine. Each of the common options has a different balance between looking neat, surviving a wipe and being easy to change.
| Label type | How easy to change | How it survives wiping | Good for |
|---|---|---|---|
| Adhesive paper label | Hard; peels in pieces and leaves residue | Poorly unless coated | Containers whose contents never change |
| Removable or erasable label | Easy; wipe or peel and rewrite | Well, though erasable writing can smudge | Containers that are refilled with dated food |
| Clip-on bin label | Very easy; slide in a new card | Well; unclip before washing the bin | Bins and wire baskets |
| Marker on tape | Very easy; peel and replace | Fairly well for a short time | Dates, trial layouts, shelf edges |
| Tag tied to a handle | Easy; flip or swap the tag | Does not need to; it lifts out of the way | Woven baskets with no flat front |
Where to put labels
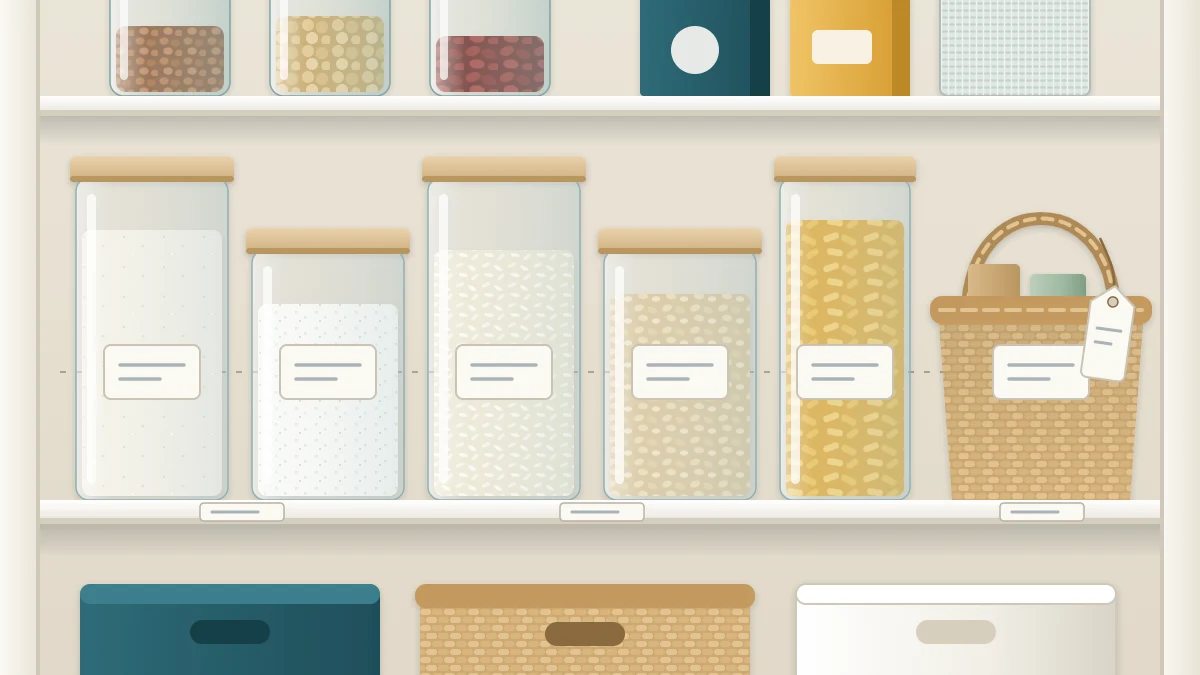
Place labels on the front of each container, at the same height along a shelf, so the eye runs along one line. On containers of different sizes, measure up from the base, not down from the lid.
Then think about the angle you see things from. On a low shelf, in a floor crate or in a pull-out bin you look down, so the label belongs on the lid as well. On shelves above eye level the lid is invisible, and only the front counts.
For bins, label the bin and not the items in it. For zones, stick the label to the shelf edge directly below the group, where it stays put even when the containers are taken out.
How to label a pantry in one session
This works best once the pantry is already sorted and everything has a place.
- Walk along each shelf and list on paper what needs a label, using the three priorities above. Expect the list to be shorter than you thought.
- Agree on names with the people who share the pantry, and write each name on the list exactly as it will appear.
- Wipe and dry the spot where each label will go. Labels and tape do not hold on dust, flour or grease.
- Write all the name labels in one go, in the same hand and the same size, and apply them at a consistent height.
- Add package dates to decanted foods, on tape or an erasable label, copied from the original packaging.
- Attach directions and ingredient panels to the back or under the lid.
- Label shelf edges for zones last, once you are sure where each group lives.
- Ask someone else to find three things and put away three things. Wherever they hesitate, a label is missing or unclear.
Keep labels changeable
Contents change. The container that held quinoa this spring may hold lentils by fall, and a snack bin turns into a lunchbox bin when school starts. Labels that are painful to remove tend to stay on after they have stopped being true, and a wrong label is worse than none.
So choose removable types for anything likely to change, keep a marker and a roll of tape in the pantry itself, and correct a label the moment the contents change. For the habit of putting older food in front and keeping its date in view, see the guide to date labels and rotation.
Frequently asked questions
Do I need to label everything in the pantry?
No. Label what cannot identify itself: foods that look alike, containers and baskets you cannot see into, and shelf edges that mark where a group belongs. Cans, boxes and bottles in their original packaging are already labeled, and clear containers of obvious foods such as pasta rarely need a name.
What should I write on a container of decanted food?
Write the plain name on the front along with the date printed on the original package. On the back or under the lid, add the cooking directions and, where it matters in your household, the ingredient and allergen panel cut from the package, since the package label is where allergens are identified.
Which labels come off containers most easily?
Removable or erasable labels, clip-on bin labels, tags tied to handles and plain tape written on with a marker are all simple to change. Ordinary adhesive paper labels tend to tear and leave residue, so they are better kept for containers whose contents will stay the same.


