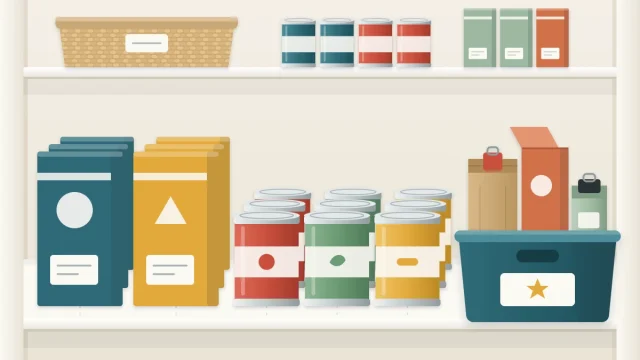
Organizing Baking Supplies in the Pantry
Bring flours, sugars, leaveners and decorations into one baking zone: how to sort them into sub-groups, what storage suits each, and where the zone should sit.

Baking ingredients spread through a pantry more than any other kind of food. The flour sits with the dry goods, the chocolate chips are behind the snacks, the vanilla is with the spices, and three half-used bags of sugar are folded shut on three different shelves.
Organizing baking supplies is mostly a matter of bringing them back together. Baking is the textbook example of a zone: many small items that are used as a set and almost never one at a time. Put them in one place, sorted so each has a home, and a recipe stops being a search.
Why baking gets its own zone
When you bake, you take out eight or ten things at once and put them all back afterward. If those things live in five places, the putting back is where the system breaks. One baking zone means one trip out and one trip back.
It also shows you what you have. Duplicate bags of sugar and forgotten packets of yeast usually come from not being able to see the whole group together. If zones are new to you, the guide to pantry zones explains how to choose and place them.
Sort into sub-groups first
Gather every baking item from around the pantry onto a counter and sort it. These sub-groups suit most households:
- Flours: all-purpose, bread, whole wheat, specialty flours.
- Sugars and sweeteners: granulated, brown, powdered, honey, syrups.
- Leaveners and thickeners: baking powder, baking soda, yeast, cornstarch.
- Chocolate: chips, bars, cocoa powder.
- Extracts, colors and decorations: vanilla, food coloring, sprinkles.
- Nuts and dried fruit.
- Tools, if they live in the pantry: cupcake liners, cutters, piping tips.
While sorting, combine nothing. Two open bags of the same flour stay as two bags for now; use up the older one first. Set aside anything your household no longer bakes with.
Storage that fits each sub-group
Flours and sugars
These are the bulky ones. If you decant them, meaning pour them from the bag into a container, choose wide-mouth containers that a measuring cup fits into, so you can scoop and level over the container. A tight-fitting lid helps keep out moisture and pantry insects and contains the spills that paper bags leave behind.
Label every one. White flours look alike, and so do granulated and powdered sugar from a few steps away. The guide to decanting dry goods covers choosing sizes and what to copy from the package.
Good to know
A container does not change how long an ingredient keeps. If you prefer to leave flour and sugar in their bags, clip them shut and stand them in an open bin. That is a perfectly good system.
Small packets and little cans
Yeast sachets, baking powder, baking soda, cornstarch and cocoa are small and easily buried. File them upright in one shallow bin, with labels facing up or forward, so the whole sub-group lifts out together.
Extracts and decorations
Small bottles and jars of sprinkles tip over and roll. A lidded caddy with a handle keeps them together and travels to the counter in one hand. A small turntable also works if the shelf has room for the circle.
Chocolate, nuts and dried fruit
Give these one bin with the bags clipped shut and standing upright. They are also popular for snacking, so if they vanish between baking days, a bin on a higher shelf is a reasonable choice.
A lift-out bin for what you bake most
If one recipe accounts for most of your baking, build a bin around it. For cookies that might be the chocolate chips, vanilla, baking soda, brown sugar and the liners or cutter you always use. One bin comes off the shelf, and everything apart from the flour and butter is on the counter.
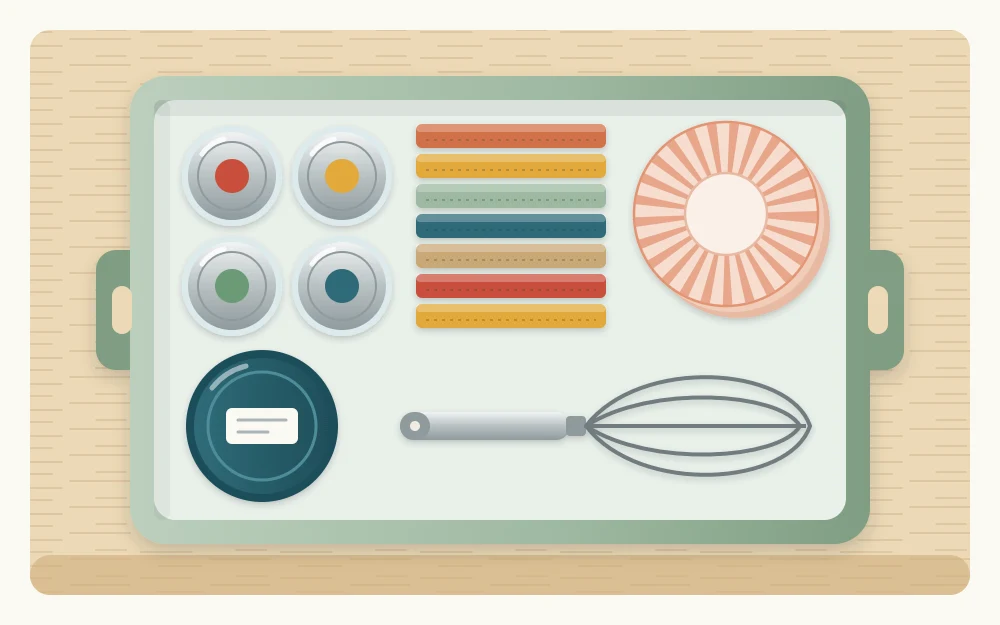
Keep the bin shallow enough that nothing sits on top of anything else, and return items to it and not to their sub-group bins. The point is that it is always complete.
Where the baking zone goes
Placement follows weight and frequency.
- Heavy flour and sugar containers: on a low to middle shelf, between knee and waist height, so you lift them out without reaching up. Check that the shelf suits the load, since full containers of flour and sugar are heavy.
- Small items: at eye level, where short labels can be read.
- Backstock, meaning unopened spares: above or behind the open one, never mixed in with it.
How often you bake decides how good a shelf the zone deserves. A household that bakes every weekend should give it a prime shelf. One that bakes at holidays can put the whole zone higher or lower and keep the easy shelves for everyday food. General advice for storing dry goods in the pantry applies to flours and sugars as well.
Keep the package date in view
Dates matter more in the baking zone than in most others, for a plain reason: leaveners, nuts and specialty flours are bought rarely and used a spoonful at a time, so a package can sit in the pantry for a long while before it is finished.
Make the date easy to find:
- When you decant, copy the package date onto the container label or a strip of tape on the base.
- On small cans of baking powder, write the date on the lid in marker where the printed one is hard to read.
- Do not top up a container with a new bag. Finish the old batch, then refill.
For storage guidance on a specific ingredient, read the package, and look the item up in the FoodKeeper tool on FoodSafety.gov. Follow the package if it says to refrigerate after opening.
Tip
Before the holiday baking season, lift out the leaveners bin and read every date. It takes a minute and saves a second trip to the store halfway through a recipe.
If you only bake occasionally
Not every pantry needs seven sub-groups. If you bake a few times a year, one labeled bin can hold the lot: a small bag of flour, a small bag of sugar, and the handful of packets you use.
Two habits make that work. Buy the smallest packages offered, since a large bag of flour that takes a long time to finish only occupies space. And keep the bin’s contents to what you actually bake, letting go of ingredients bought for a single recipe you do not plan to repeat.
Frequently asked questions
Do I have to put flour and sugar in containers?
No. Containers with wide mouths make scooping easier and a tight-fitting lid helps keep out moisture and pantry insects, but they do not change how long the ingredient keeps. Bags clipped shut and stood upright in an open bin work well too. Choose whichever you will keep up.
Where should the baking zone go in the pantry?
Put heavy flour and sugar on a low to middle shelf so you are not lifting them from above your head, and small items such as leaveners and extracts at eye level. Frequent bakers should give the zone a prime shelf; occasional bakers can place it higher or lower.
How do I keep track of dates on baking ingredients?
Copy the package date onto the container label when you decant, and write it large on small cans where the printed date is hard to read. Avoid topping up a container with a newer bag. For storage guidance on a particular ingredient, check the package or the FoodKeeper tool on FoodSafety.gov.