How to Turn a Kitchen Cabinet into a Pantry
No pantry closet? Six steps to set up one or two kitchen cabinets for food: choosing the cabinets, measuring, assigning shelves and fitting bins that pull out.
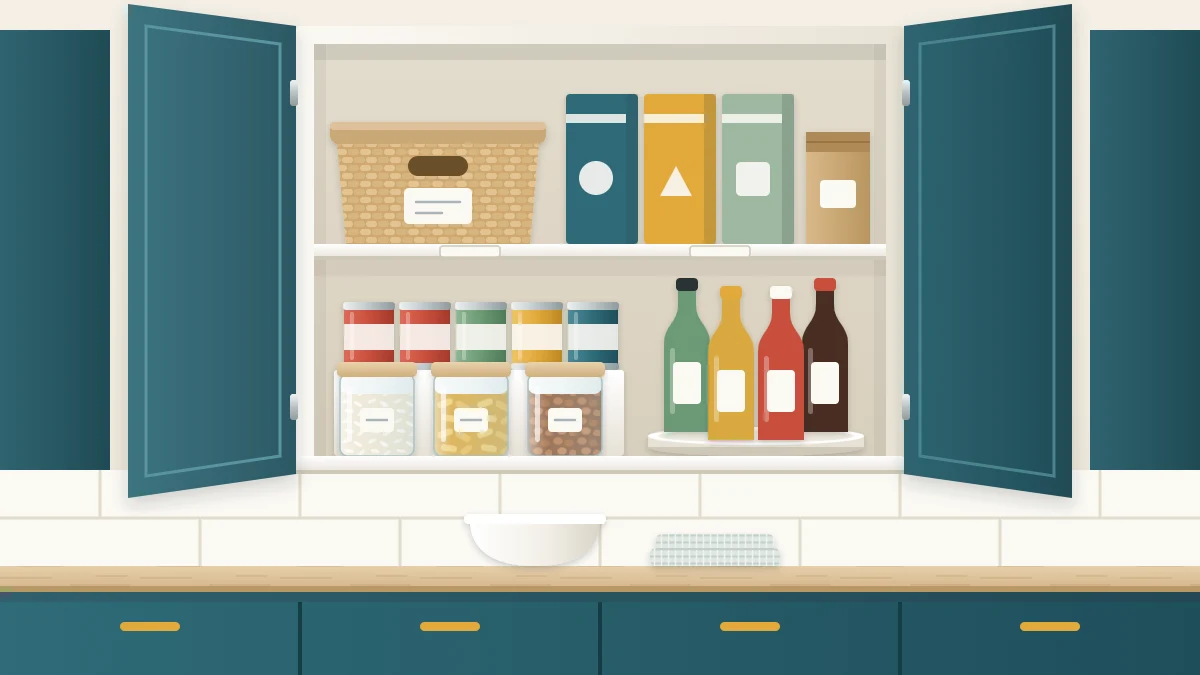
At a glance
What you need
- Tape measure
- Damp cloth
- Notepad and pen
- Two or three pull-out bins
- Tiered riser or small turntable
- Erasable labels
Plenty of kitchens have no pantry closet at all. The food lives in one or two ordinary cabinets, usually wherever there was room on moving day, and it has stayed there since.
A kitchen cabinet pantry can work very well, but it behaves differently from a closet. It is small, the upper cabinets are shallow, the base cabinets are deep and low, and everything sits behind a door. The steps below set it up around those facts.
How a cabinet differs from a closet
Three things shape every decision:
- Upper cabinets are shallow. There is room for about two rows of small items, so little gets lost, but large boxes may not fit with the door shut.
- Base cabinets are deep and dark. You look down into them from above, and the back half is reached on your knees unless something slides out.
- There are only two or three shelves. Each one has to be assigned on purpose.
Many of the ideas in the guide to small pantry organization apply here too. This guide stays with the cabinet itself.
Step 1: Choose the right cabinets
General storage guidance for pantry food is cool, dry, and away from heat and direct light. In a kitchen that rules out more cabinets than you might expect. Avoid, where you can:
- The cabinets directly above or beside the stove and oven.
- The cabinet next to the dishwasher, which gets warm and steamy.
- Any cabinet above a kettle, toaster or other appliance that gives off heat or steam.
The best choice is usually an upper cabinet and the base cabinet beneath it, in the stretch of counter where you prepare food. Keeping the two together means one place to look.
Step 2: Empty, wipe and measure
- Take everything out of the chosen cabinets, including anything that is not food.
- Wipe the shelves, walls and door with a damp cloth, clearing crumbs and spills from the corners, and let them dry.
- Measure the inside width, the depth from the front edge to the back, and the height between shelves. Write the numbers down for each shelf.
- Note what gets in the way: a center post, hinges that project inward, a lip on the cabinet frame.
- If the shelves are adjustable, note the spacing of the peg holes so you know what heights are possible.
Step 3: Decide what lives here
A cabinet will not hold what a closet holds, so choose. Sort the food you took out into groups, then rank the groups by how often you use them.
The cabinet pantry gets the everyday groups first. Whatever does not fit goes elsewhere on purpose: bulk backstock (unopened spares) on a shelf in another room, and rarely used items in a higher cabinet. Deciding this now is better than discovering it when the door will not close.
Step 4: Assign the shelves
As a starting point, depending on your household:
- Upper cabinet, lower shelf: everyday items. This is the easiest shelf in the kitchen to see and reach.
- Upper cabinet, higher shelves: light backups and things used occasionally. Keep heavy jars off the top shelf, where they have to be lifted down over your head.
- Base cabinet: heavy canned goods, bottles and bulk bags, in bins that pull out.
Each shelf, or each half of a shelf, becomes a zone for one group of food. The guide to pantry zones explains how to choose groups that match the way you cook.
Step 5: Fit the inside
A few simple organizers make a cabinet behave more like a pantry. Check each one against your measurements before buying.
- A riser at the back of an upper shelf lifts the second row so its labels show over the first.
- A turntable for bottles brings oils, vinegars and sauces to the front with a spin. It suits a corner cabinet especially well.
- An under-shelf basket uses the empty air above short items for light packets.
- Bins that pull out like drawers in the base cabinet bring the back of the shelf to you. Choose bins with a handle at the front, sized so two or three fill the width.
- A slim rack on the door holds small light items, if the hinges allow it and the rack clears the shelves when the door shuts.

For what each organizer does well and where it wastes space, see the guide to pantry shelf organizers. Spices are often the hardest group to fit in a cabinet, and organizing spices in the pantry covers the options.
Good to know
Cans, jars and bottles are heavy. Keep them low, and keep anything mounted on a door or hung under a shelf within the load rating its maker states. Follow the installation instructions for door racks.
Step 6: Load it and label the shelf edge
- Put the heaviest items into the base cabinet bins first, one category per bin: canned goods in one, bottles in another.
- Load the lower upper-cabinet shelf with everyday food, tallest items at the back, with each item in a single front-to-back row where the depth allows.
- Place light backups on the higher shelf, directly above the item they refill where possible.
- Label the front edge of each shelf and the front of each bin with the category name. Inside a cabinet, the shelf edge is the first thing you see when the door opens.
- Close the doors and check that nothing catches.
Tip
Leave a hand’s width of empty space on the everyday shelf. A shelf packed edge to edge has nowhere for the next grocery trip to go, and the overflow lands on the counter.
Living within the limits
The hardest part of a cabinet pantry is buying to fit it. A closet forgives a bulk purchase; a cabinet does not. A few habits keep it working:
- Buy package sizes that fit the shelf height, even where a larger size is offered.
- Keep one spare of the things you use constantly, not three.
- When a bin is full, treat that category as full until something is used up.
- Every few months, pull the bins out, wipe the shelves and move anything that has drifted in back to its own place.
If the cabinets stay overfull after that, the answer is a second storage spot for backstock, not a tighter squeeze. A cabinet that closes easily and shows you what it holds is doing its job.
Frequently asked questions
Which kitchen cabinet is best for storing food?
Choose a cabinet away from the stove, oven, dishwasher and any appliance that gives off heat or steam, since general guidance for pantry food is a cool, dry place. An upper cabinet with the base cabinet beneath it, near where you prepare food, usually works well and keeps everything in one spot.
How do I stop things getting lost at the back of a base cabinet?
Use bins that slide out like drawers, each holding one category such as canned goods or bottles. Pulling the bin brings the back of the shelf forward so you can look down into it. Pick bins with a front handle and measure the cabinet opening before you buy.
What if my food does not fit in one or two cabinets?
Decide what belongs in the cabinet pantry and what goes elsewhere. Keep everyday food in the cabinets and move unopened spares to a shelf in another room or a higher cabinet. Buying smaller package sizes and fewer spares also helps the space keep up with your shopping.

